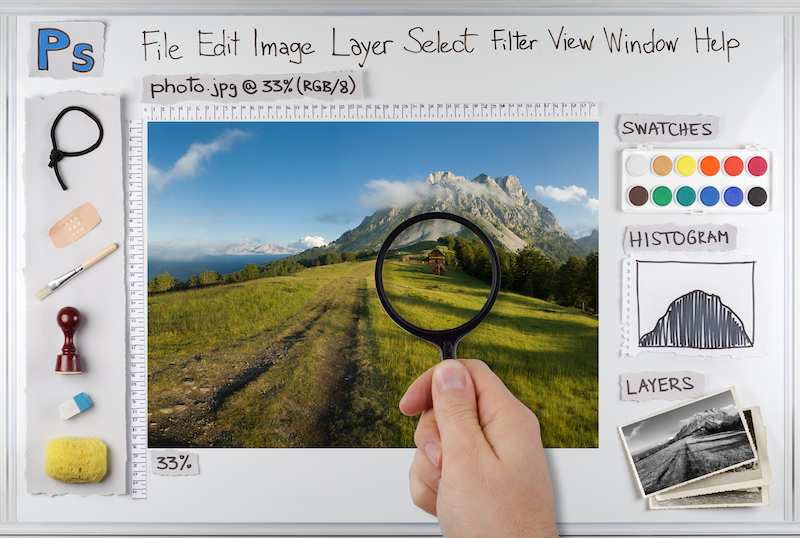
Photo © Slavenko Vukasovic – Dreamstime.comAdobe Photoshop CC 2019 has been out for several months now, but many of us are busy with our daily activities and may not have had a chance to explore all the great new features available. If you fall into that camp, or maybe you just need a quick refresher, here are 14 neat new features you may want to explore in Photoshop CC 2019.
New Content-Aware Fill
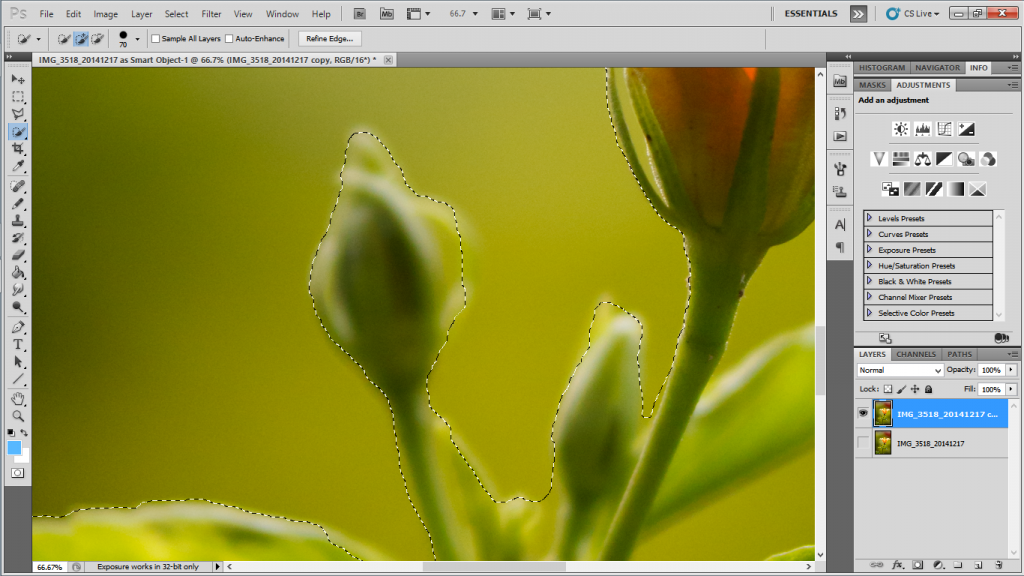
One of the biggest areas of improvement is with the content aware fill function. The new Edit – Content Aware Fill dialogue box allows for greater control over the process. A Live preview area will show the results being generated as you modify your selections. The sampling zone shows the area included in building the fill. Painting with the sampling brush removes areas from consideration while the ALT or OPT key will allow you to paint areas back in. Tick boxes control fill settings for color adaption, rotation adaption, scale and mirror effect; and the output settings control if the effects are applied to the current layer, new layer or duplicate layer. The lasso tool in the interface allows for further refinement of the fill area.

Photo © Chansom Pantip – Dreamstime.com
Symmetry Mode
Choosing the butterfly icon in the options bar when working with the Paint Brush, Mixer Brush, Pencil or Eraser tools allows you to control a symmetry in the created pattern. Symmetrical settings include the vertical axis, horizontal axis, dual axis, diagonal axis, wavy, circle, spiral, parallel lines, radial and mandala to create intricate symmetrical patterns.
Multiple Undo
The new undo tool Control+Z (win) or Command+Z (mac) now works to undo multiple undo steps. A real time saver when trying to fix those nasty situations we can find ourselves in.
Auto commit actions
Crop, transform, place and text tools no longer need to be explicitly committed. Moving to a new tool, selecting a new layer, or clicking outside the canvas will commit the changes automatically.

Framing Tool
The Frame Tool easily creates a rectangular or elliptical frame which can be filled with another image or illustration. Dragging content into the frame will convert it to a Smart Object such that it can scale non-destructively. Any existing shape or text can be converted to a frame by selecting Convert to Frame in the layer operations menu to create a frame for use in the same manner.
Improved in-app learning
Use the in-app tutorial from the Window – Learn panel to understand principals by following a step-by-step process. Then select the “Try with your own images” option at the end of the tutorial to have the same step-by-step process illustrated to walk you through making the adjustments in real time.
Transform proportionally
Layer transformations are now proportional by default with the exception of shapes and paths. Switch to non-proportional transformations by holding the Shift key.

Illustration © Aleksey Vanin – Dreamstime.com
Double click to edit text
No longer do you need to toggle to the Text Tool to edit existing text. Double clicking on the type layer with the Move tool allows for quick edits.
Live blend mode preview
Not sure what affect the Layer Blend Modes you select are going to have on the layers? Now with Live Preview, the results will show you scroll the options in the Layers panel or Layer Style dialog.
Math in number fields
Not good at math? Enter simple math operations in any numeric field and let the application do the calculations for you.
Color wheel
In the Color panel, select the Color Wheel from the menu to display the color spectrum and easily choose color values based on color theory and principal.
Lock Home Screen
Use the new Window-Workspace-Lock Workspace to prevent accidental moving of workspace panels.
Distributed spacing
Objects can now be selected and distributive spaced in addition to aligned and distributed.


Photo © Kaspars Grinvalds – Dreamstime.com
Increase UI size
Use the Edit-Preferences-Interface to tick the Scale UI to font box and choose the font size Tiny-Small-Medium-Large to adjust the scale of the UI if you find those icons and dialog boxes a touch too small.
Even if you don’t have time to explore all the new features available, now you know what features are available to you the next time you might need them.
Stock photos provided by Dreamstime.com
Author Bio
Karen Foley is a freelance photographer and writer who loves sharing her art with others. See more of her work at karenfoleyphotography.com.


